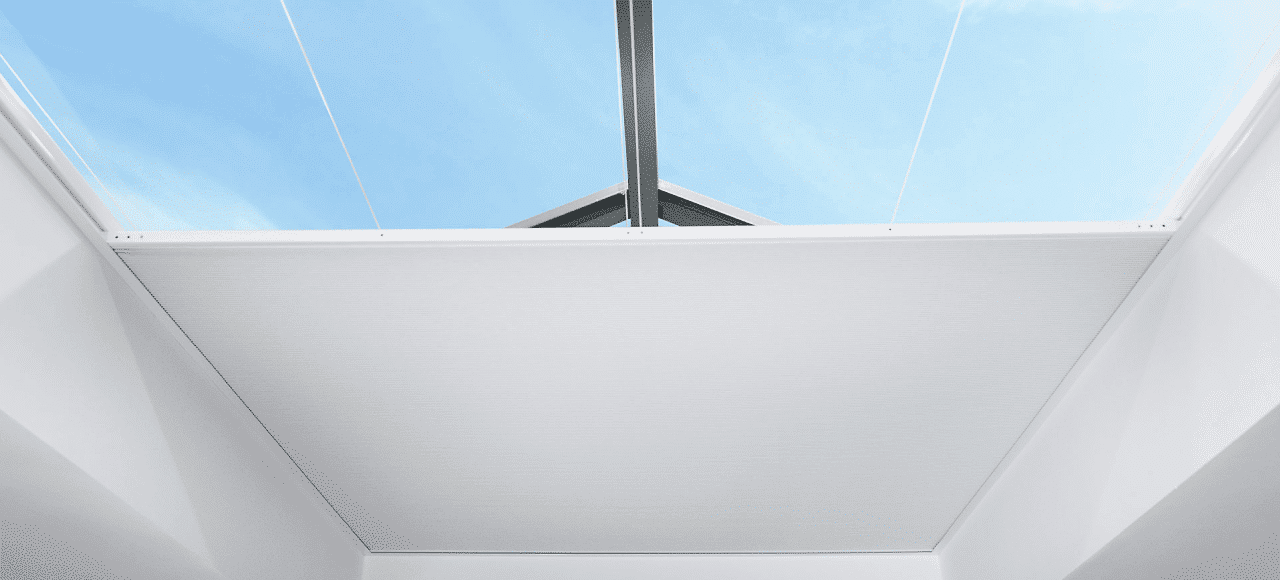
One of the easiest ways to make a normal room appear magical is the construction of a skylight. But such a ceiling-based opening can lead to major privacy issues unless we have an appropriate way of covering it up. This is where motorized skylight Shades New York City comes in. You can operate these sturdy and trustable shares with the help of a smart app or remote control so there is no concern of getting up on your bed every day trying to fix the ceiling! Here is how to install these shades for once and all and have a tension-free year ahead of you!
5 Steps to Installing Motorized Window Shades
Take a look at these five simple steps that can help complete your skylight installation with such finesse that no worrying about sudden malfunction is required.
Gather the Necessary Tools and Materials
Many different techniques can be used to set up these shades. Because of this, the required set of tools and equipment are also different for each individual trying to set up these shades.
In general, you will need basics like a drill, screws, level and ladder. Apart from the motorized skylight shade itself, you will have to find the right mounting tracks and brackets for the setup.
Measure Your Windows
This is such an underrated step. Many first-time builders make the mistake of eyeballing a window because of which they end up with Window Shades that are either too fragile or look too bulky to be aesthetic.
We make this happen by:
- Using a measuring tape to measure the skylight’s length and width
- Measuring the depth of the skylight frame
- Recording all dimensions accurately
Install the Mounting Brackets
Depending on what measurements you have, customize your mounting bracket to fit the skylight. If you are comfortable with shortening the bracket yourself, you can try it – otherwise, you can request any professional workshop to do it for you.
Here is how to do this:
- Marking bracket positions using a pencil
- Drilling pilot holes at marked spots
- Securing brackets with screws using a drill or screwdriver.
- Ensuring brackets are level and firmly attached
- Doing it all over again until the set-up is strong and aligned
Attach the Motorized Shades
This is the most important step. Follow the guidelines provided by the manufacturer to slowly attach the motorized shade with the bracket. Double-check that the electrical circuit across the shades is attached properly and follows a consistent route. Make sure the shades are not tilted or damaged in any way.
Program and Test the Shades
For remote and app-based products a proper configuration is necessary. While this can be confusing, it is also a lot more convenient in the long run as you can supervise your privacy even when you are out of the house.
The program is done like this:
- We use the shade’s remote or app to enter programming mode
- We then set desired opening and closing times
- Testing the shade movement is all about ensuring the smooth operation
- We enable manual & emergency commands
- We adjust settings as needed for optimal performance
Last Words
Of course, installation of these smart technology shades is depends on the type and promised facilities. So before starting, make sure you go through not only the official installation guide provided by the sellers of your chosen motorized window Shades in New York City but also the many reviews and practical guides you will find online. In case you are having trouble setting up the software, don’t hesitate to implement a proper troubleshooting session and then call customer service as soon as necessary.


